Adobe After Effects
|
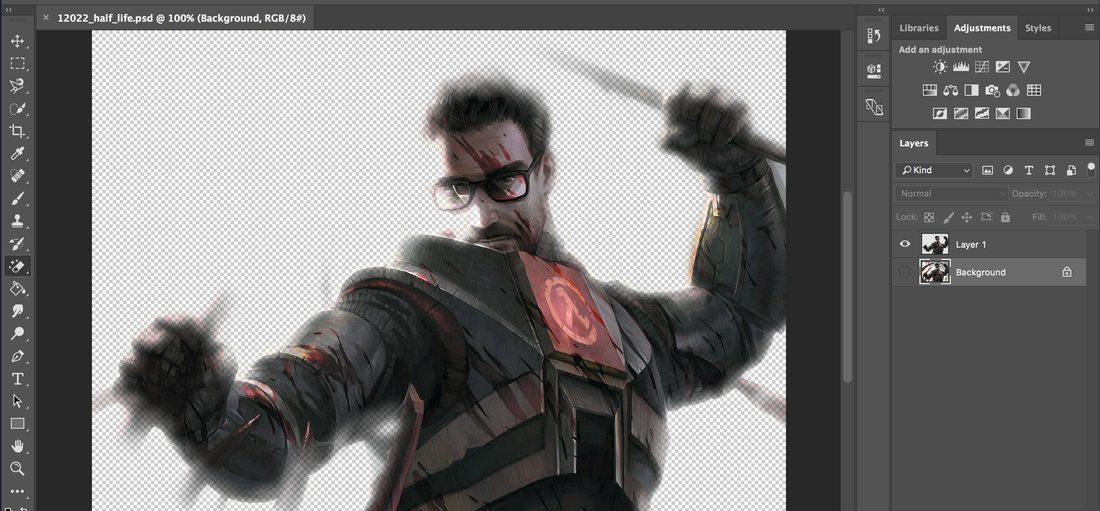
Take an image of your character and isolate it using Photoshop - delete the background. This video will demonstrate ----->>>>>
|

|
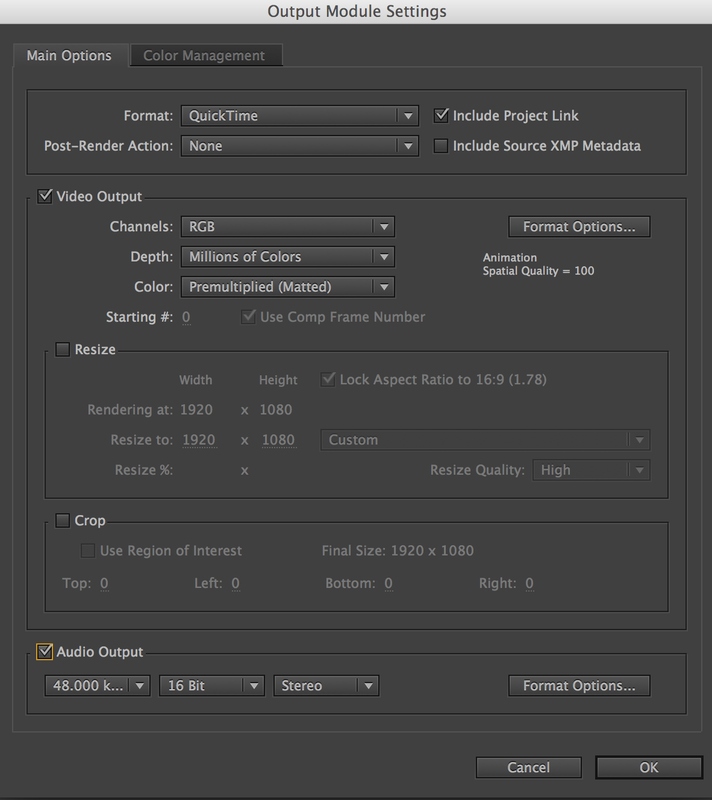
Exporting your footage
Export -->> add to render queue
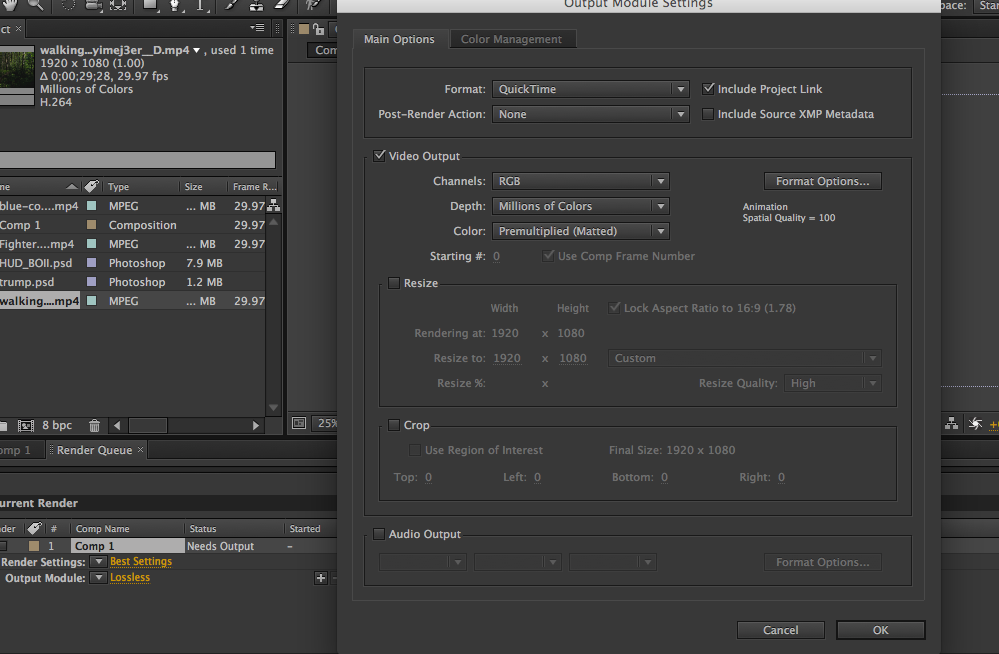
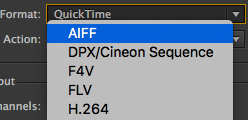
Change format from Quicktime to H.64
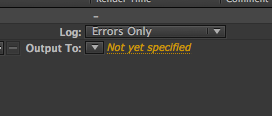
under Output choose Not yet specified - select Desktop
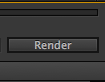
Select Render - wait till it's done then watch your video!
Adding Text and Audio
|
Step One - Download a couple of video file and audio file. Here
Step Two - Open After Effects - immediately save the composition file and import two video and one audio file. Step Three - Place both files in the timeline. Step Four - Grab the text tool and write After Effects with a font of your choice (open the Character window) Step Five - Find the Animations menu and choose the Apply Animation Preset. Find and apply the Cosmic Power effect. (If Adobe Bridge appears look for the Backgrounds folder) You might find that you'll need to go back and change your font so that you can see more of the effect. Step Six - Select the first video file layer - find the Effect Menu and the Stylize submenu - select Posterize. 
|
Step Seven - Add an Adjustment Layer - Go to Animation and choose Apply animation preset. Experiment - try some of the different options. Choose one you like; it should fit with the overall feel of the video. For example, the Germ or Blocks animations wouldn't go with the dark rolling cloud situation.
You'll need to adjust the opacity down to around 25 - 35%. Find it in the Transform menu 
|
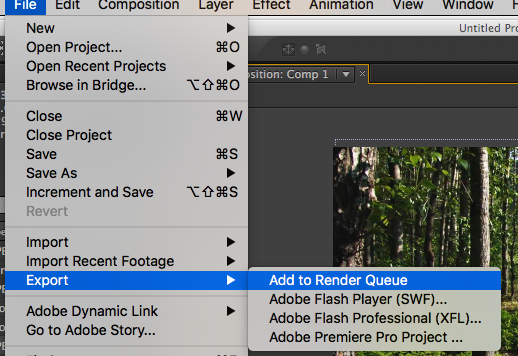
Step Eight - Go to Edit --> Add to Render Queue - render as h.264 - AS YOU DO THIS CHECK THE AUDIO output box or your sound won't happen. Email me your awesome file when done.